

Ditch the ordinary, embrace the extraordinary! Made with live-edge, natural wood and cradling delicate plants in glass, test tube vase terrariums bring a touch of magic to your space.
Forget boring planters and predictable pots – watch our video below to learn how to build your own stunning live-edge stands, showcasing nature’s beauty with modern design flair. Imagine single flowers suspended in glass, their roots like tiny works of art, held by a unique piece of handcrafted, organically shaped wood. These natural beauties elevate your home or office, adding a touch of elegance you can’t buy at the store. Ready to unleash your creativity and create like a pro? Let’s do it.
Watch our video tutorial and follow the directions below.
[embedded content]
Finding Our Perfect Pieces
The adventure begins with choosing the wood for our test tube vase holders. The exciting part? There’s no one-size-fits-all answer! Use whatever speaks to you, unleashing your creativity to create a unique conversation piece.
We opted for live-edge wood, scouring the offcuts at a local sawmill. Remember, the key is finding pieces that complement your test tube size. For our 15cm vases, we chose wood chunks large enough to comfortably hold them without appearing comical or cramped.
So, ditch the ruler and embrace the freedom! Trust your eye and intuition, and you’ll discover the perfect wood companions for your project.
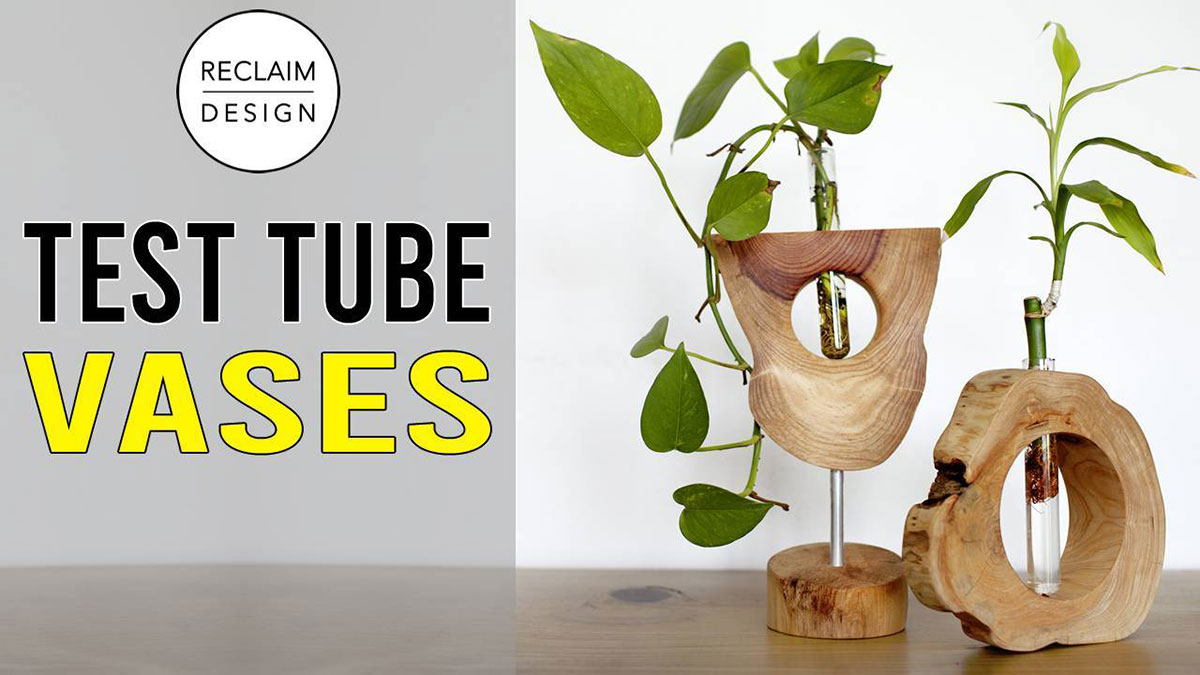
2 Test Tube Stand Designs to DIY
To maximize our trusty live-edge wood scraps, we crafted two distinct test tube vase stands. One design cleverly repurposes the cutout from the other as its base, embodying our “waste not want not” philosophy. Both showcase the natural beauty of the live edge while ensuring the test tubes remain the star of the show. Here’s a closer look at our creations…
Tools & Materials
This project is all about flexibility, so don’t worry about having every exact item! Here’s the general toolkit:
- Drill press: Recommended for precise holes. If you don’t have one, a drill guide might help.
- Forstner bits: Sizes depend on your test tube and wood thickness. We used 60mm and 22mm.
- Hole saw: We used a 102mm (about 4 inches) hole saw, but any size suitable for your stand design works.
- Drill bits: We used a 9.5mm (0.37 inches) bit for attaching the aluminum tube.
- Aluminum tubing: Choose a diameter and length that fits your design. Ours was 9.7mm x 15cm (0.37 inches by 5.9 inches)
- 2-part epoxy: For adhering the tube to the stand.
- Sandpaper (120 & 240 grit): Smooths the wood. Sanding with more grits is optional.
- Finishing oil: We used Osmo oil, but choose any finish you like.
Adjust sizes and materials based on your specific design and preferences. Don’t stress about exact measurements or having every tool – be creative and have fun.
This guide outlines building two stunning test tube vase stands using live-edge wood. While the wood’s asymmetry adds a unique charm, it also presents some drilling challenges. We’ve developed two variations, using different types of wood.
Cedar Dream
- Choose Your Canvas: Pick a live-edge piece that appeals to you visually and functionally. Look for a flatter side for the base and consider belt sanding for adjustments.
- Centering the Hole: Ditch the measuring tape! Use your eye to position the hole saw, considering the wood’s natural shape. Drill carefully, starting with the larger hole saw and finishing with a hand drill for precision.
- Test Tube Niche: Again, use your eye to center a smaller hole for the test tube to sit on the base created by the previous step. Refer to the video for visual guidance if needed.
- Sanding Symphony: Belt sand both sides and the edges with 120 grit, preserving the live-edge character. Finish with a random orbit sander and hand sanding for details (240 grit).
- Finishing Touch: Apply Osmo oil for a beautiful matte finish.
Fir Power
- Shaping the Base: This piece benefits from a straight edge cut with a miter saw. Invert it for a unique base, and repurpose the leftover hole saw cutout from Design 1 and aluminum tubing for a stand extension.
- Eye-Centered Drilling: Similar to Design 1, use your eye to center the hole, considering the wood’s shape. This time, use a 60mm Forstner bit due to the smaller working area. Secure the wood to a larger piece of plywood for stability while drilling.
- Test Tube Haven: With the straight edge as a guide, measure and mark the center for the test tube hole. Drill through the top section so the tube rests on the Forstner bit base.
- Sanding Finesse: Belt sand the front and back with 120 grit, but hand sand the more delicate live-edge circumference. Finish with a random orbit sander and hand sanding (240 grit) for the Forstner bit holes.
- Osmo Magic: Apply Osmo oil for a stunning matte finish.
Clamp live-edge pieces securely when drilling. This is the trickiest and most dangerous step, so prioritize safety. Take your time! Enjoy the process and you’ll achieve a fantastic result. Always wear PPE!
Feel free to adjust sizes and materials based on your preferences. Embrace the asymmetry – it adds character! Refer to the video for detailed visual instructions.
About the Authors
Michael Martin and Nikki Rixon started their business Reclaim Design in 2013. Subscribe to their YouTube channel for more videos filled with practical advice, eco-friendly tips, and inspiration to help you live a more sustainable life.
- SEO Powered Content & PR Distribution. Get Amplified Today.
- PlatoData.Network Vertical Generative Ai. Empower Yourself. Access Here.
- PlatoAiStream. Web3 Intelligence. Knowledge Amplified. Access Here.
- PlatoESG. Carbon, CleanTech, Energy, Environment, Solar, Waste Management. Access Here.
- PlatoHealth. Biotech and Clinical Trials Intelligence. Access Here.
- Source: https://earth911.com/diy/how-to-make-elegant-diy-test-tube-vases-with-live-edge-stands/